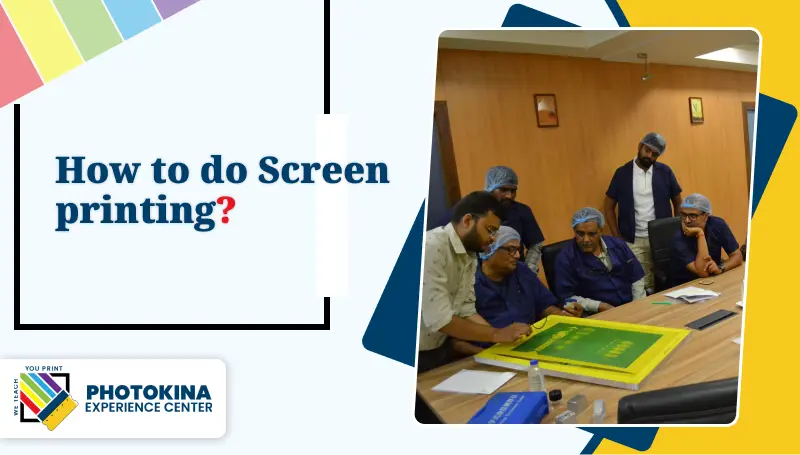
How to do Screen printing?
How to Do Screen Printing: A Step-by-Step Guide
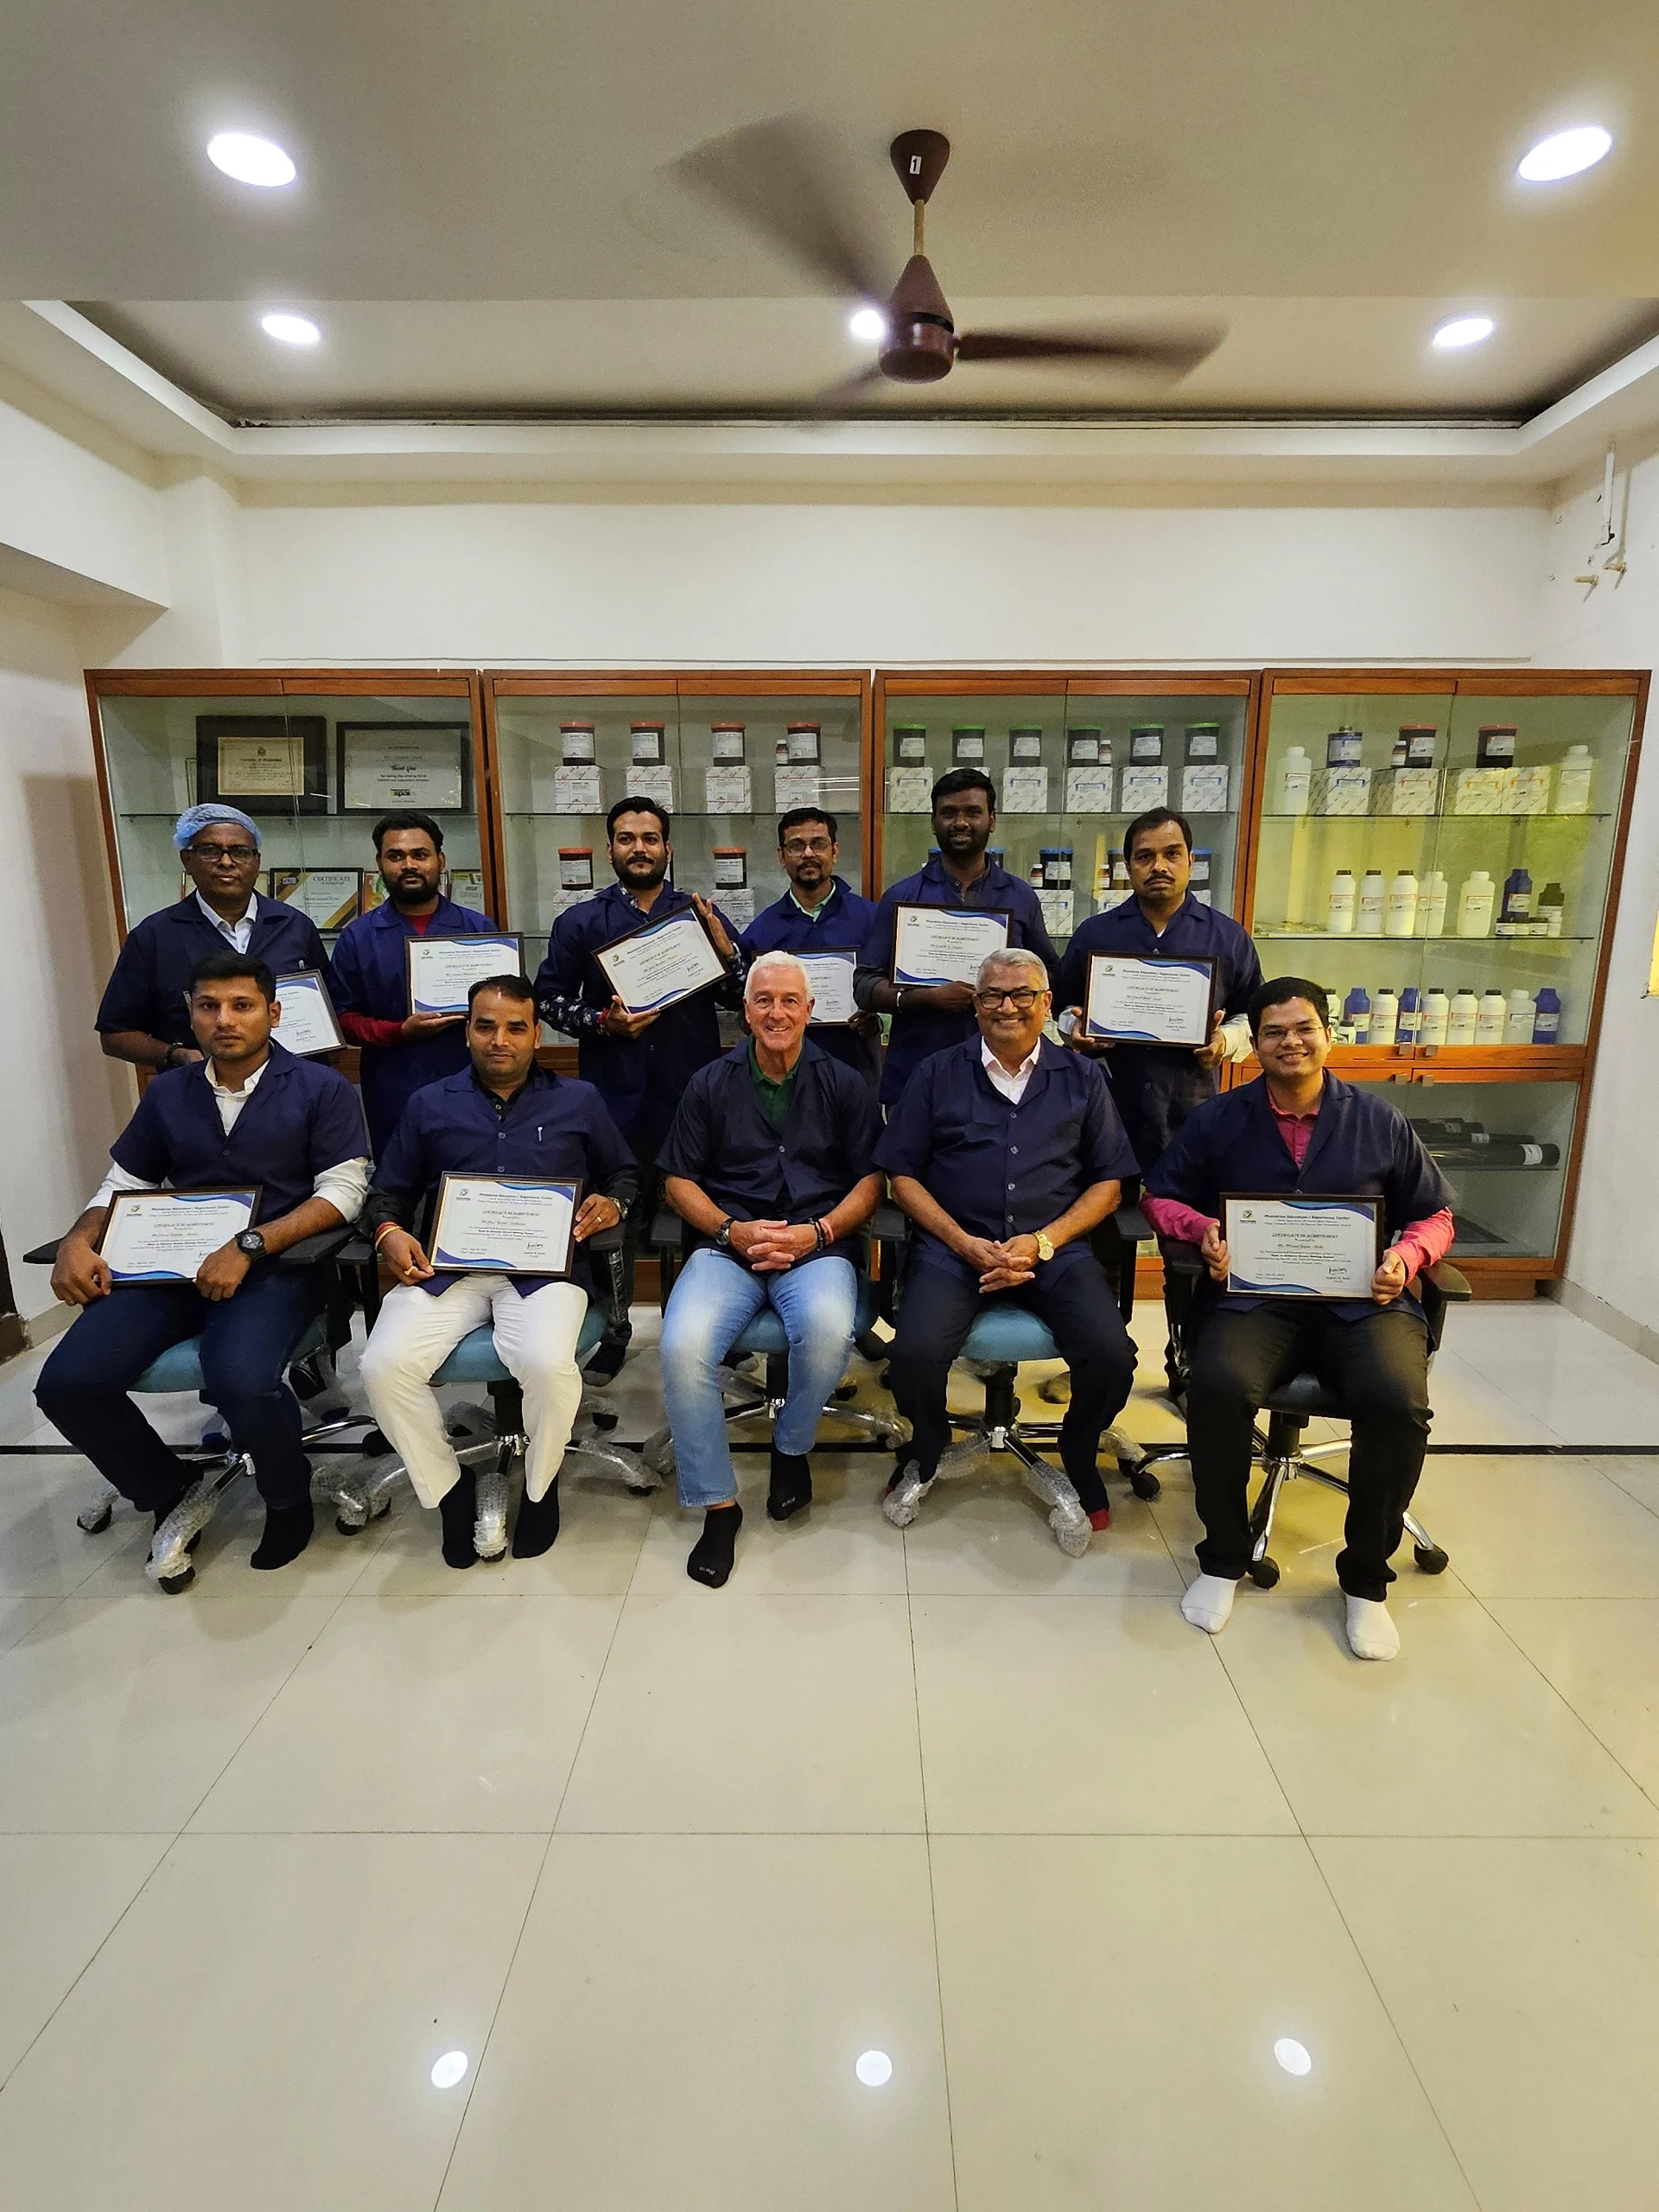
Screen printing is a popular and effective method for transferring designs onto various surfaces, such as fabrics, paper, and more. At Photokina Experience Center, we specialize in teaching the art of screen printing, empowering artists and businesses alike. This comprehensive guide will walk you through the process of screen printing, highlighting essential materials and techniques to help you achieve stunning results.
Understanding Screen Printing
Screen printing, also known as silk screening, involves using a stencil (or screen) to apply ink to a surface. The process is favored for its durability and vibrant color applications, making it ideal for custom apparel and promotional items. Whether you're creating merchandise for your brand or personal projects, mastering screen printing is a valuable skill.
Essential Materials
To get started with screen printing, you’ll need several key materials:
Screen Printing Frames: These frames hold the mesh taut and are essential for creating your stencil.
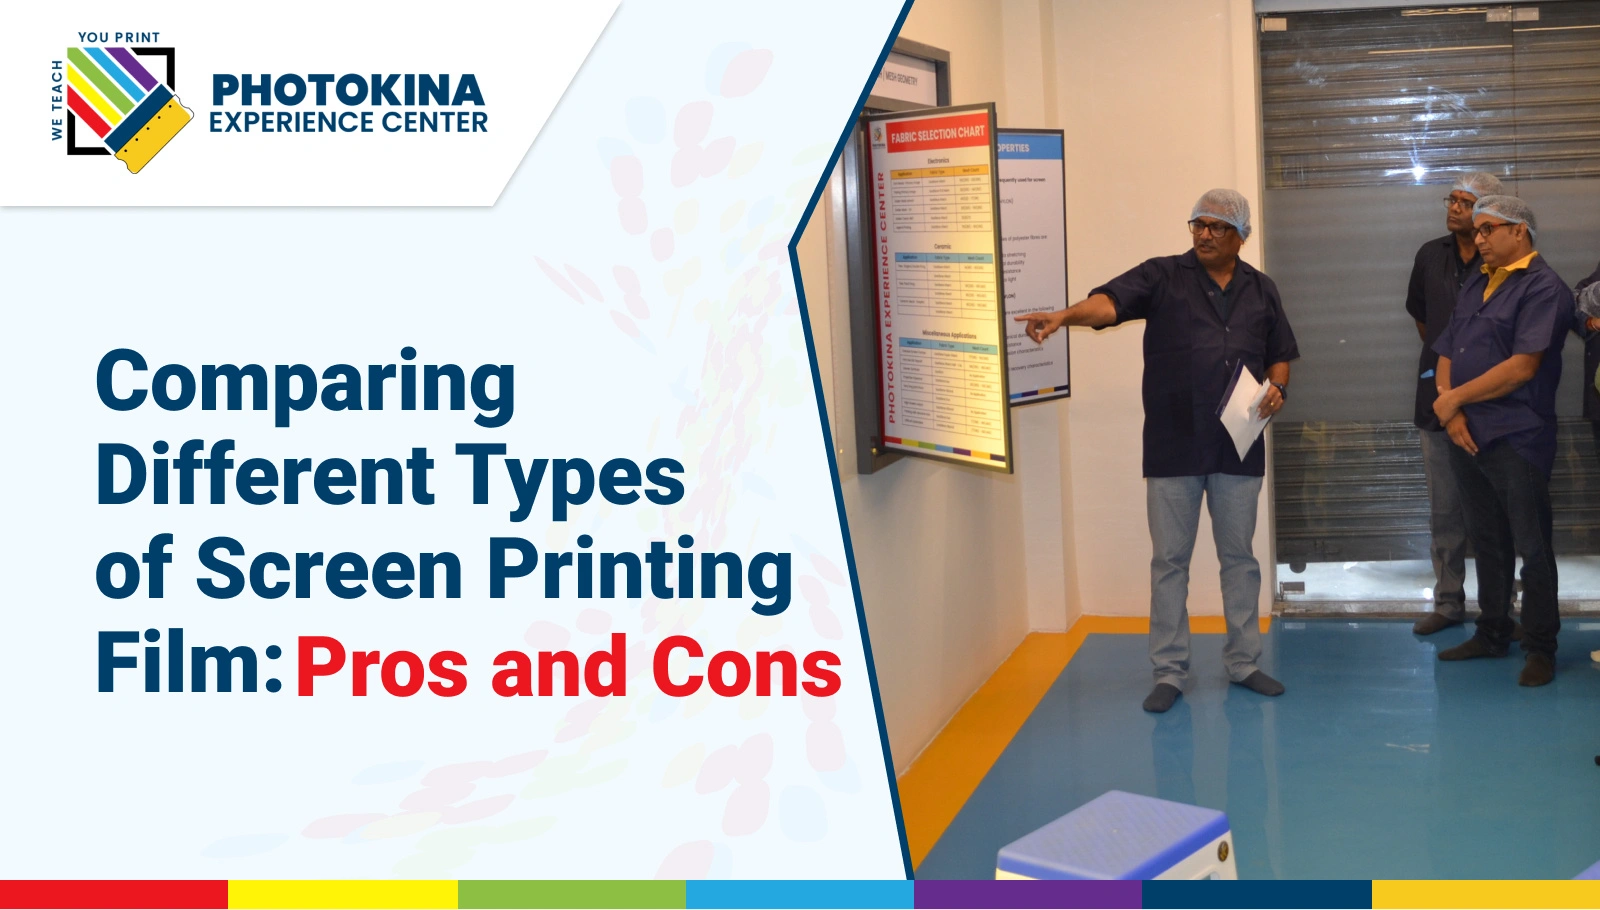
Screen Printing Mesh:The mesh size influences the ink flow and detail. A higher mesh count (200+) is suitable for fine details, while a lower count (110-160) is ideal for thicker inks.
Diazo Emulsion: This light-sensitive substance is used to create stencils on the screen.
Screen Printing Squeegee: A tool used to push ink through the mesh and onto the substrate.
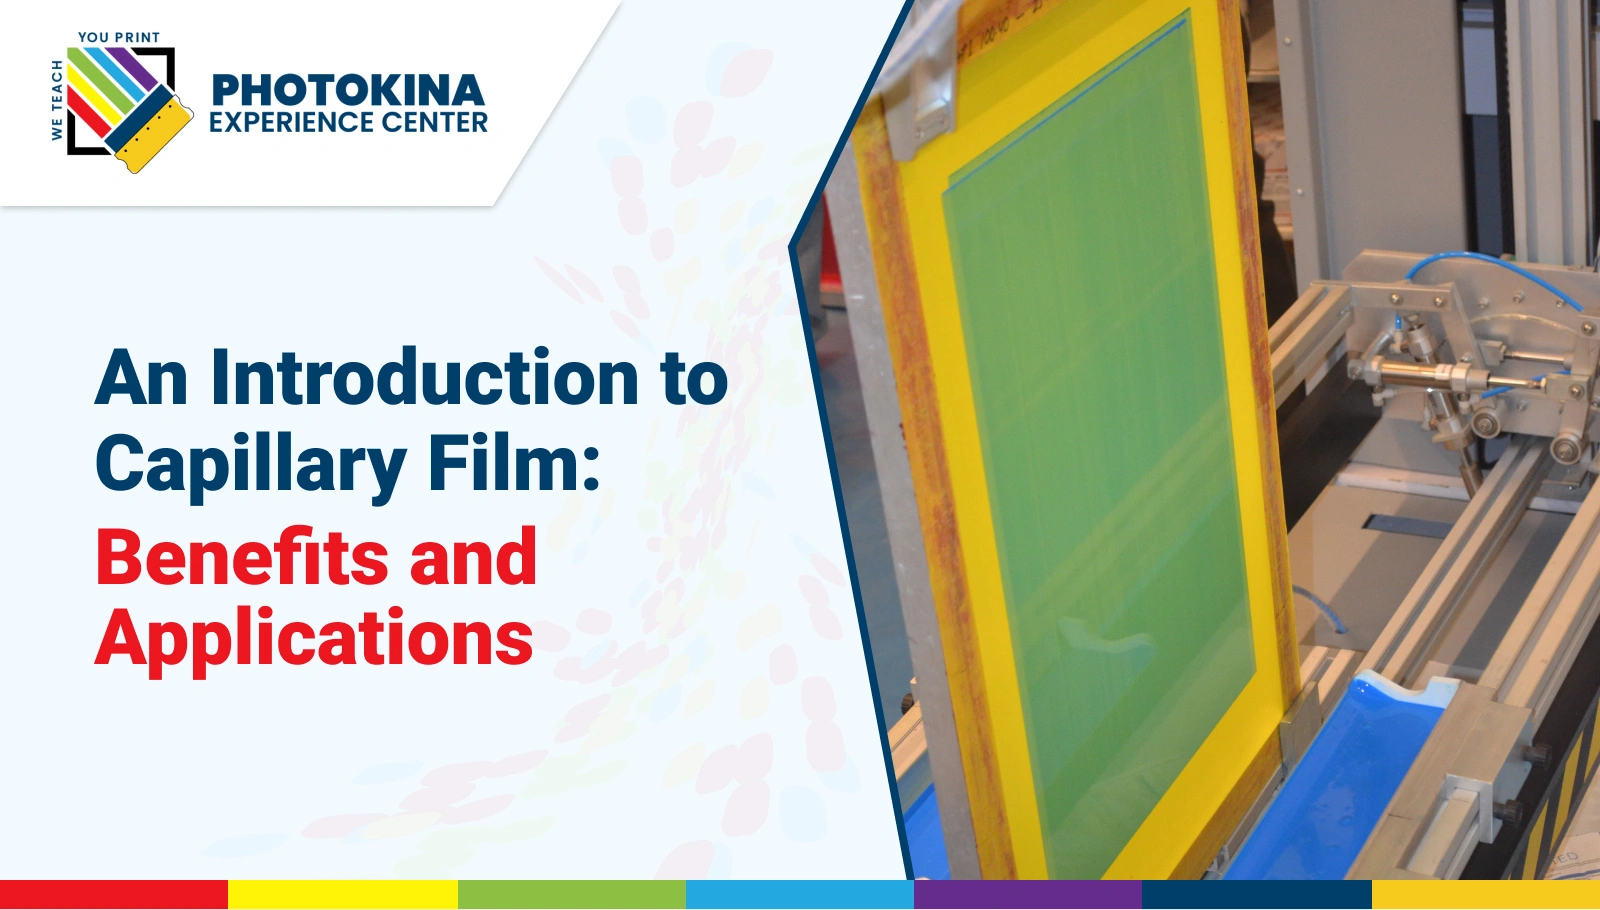
Screen Printing Film: Typically, Chromaline Film is used to print your design, blocking light during exposure.
Capillary Film: An alternative to emulsion that simplifies the stencil-making process.
Ink: Choose inks based on your substrate, with options like plastisol or water-based inks.
Exposure Unit: This equipment is used to expose the emulsion-coated screen to light.
Heat Source: Essential for curing the ink, a heat press or conveyor dryer is often used.
Step-by-Step Screen Printing Process
Step 1: Prepare Your Design
Begin your creative process using graphic design software. Print the final design onto Screen Printing Film, ensuring it’s a solid black image for optimal exposure results.
Step 2: Coat the Screen with Emulsion
- Mix the Diazo Emulsion according to the manufacturer’s instructions.
- In a dark room, use a scoop coater to apply a thin, even layer of Screen Printing Emulsion on both sides of the screen.
- Allow the coated screen to dry in a dark environment to prevent premature exposure.
Step 3: Expose the Screen
- Place the dried screen in the exposure unit, ligning the transparency film with your design over the screen.
- Follow the recommended exposure time for your specific emulsion type and light source.
- Rinse the screen with water after exposure; the areas blocked by the design will wash away, revealing your stencil.
Step 4: Set Up for Printing
- Arrange your workspace, ensuring you have your screen printing frames, ink, and substrate ready.
- Align the screen over the substrate, using registration marks for accuracy, especially when printing multiple colors.
Step 5: Printing the Design
- Add a line of ink at the top of the screen.
- Use the Screen Printing Squeegee to press down and pull the ink through the stencil. Apply even pressure for consistent coverage.
- Lift the screen to reveal your print. Repeat the process for additional prints.
Step 6: Cure the Print
- Depending on the type of ink, cure the print using a heat source. Water-based inks require air drying, while plastisol inks need to be heat set.
- Ensure the prints are fully cured to prevent smudging and improve durability.
Step 7: Clean Up
- Clean the screen right after printing to stop the ink from drying and clogging the mesh.
- Store your screens, inks, and tools properly to prolong their lifespan.
Benefits of Screen Printing Training
At Photokina Experience Center, we offer comprehensive Screen Printing Training to help you refine your skills. Benefits of our training include:
- Expert Guidance: Learn from industry professionals who
share valuable insights and techniques. - Hands-On Experience: Gain practical knowledge through interactive sessions and real-life projects.
- Networking Opportunities: Connect with fellow screen
printers and artists to share ideas and collaborate on projects.